One of the most deceptively simple landscaping tasks is that of transplanting trees. While almost anyone with proper equipment could dig a hole, dig up a tree, and move the tree to its new spot, there are specific things to consider when transplanting trees. In this article, I intend to describe the equipment and technique to transplant trees properly.

What Equipment Is Necessary To Transplant a Tree?
Very little equipment is necessary to transplant a tree. The most basic equipment needed would be a pointed shovel for digging, pruners for cutting roots, measuring tape for sizing the new hole, tarps for transporting the tree itself, mulch for spreading around the new transplant, and a garden hose for watering the newly transplanted tree.
Most people interested in transplanting trees already own these items, but if they do not, the equipment for tree transplanting can be purchased for relatively little.

Tree Transplanting Considerations
Some things that you should consider before transplanting a tree would be the season, the tree, and your physical conditioning. The best times to transplant a tree are late winter and early spring, though fall may also work. In the middle of winter, the ground may be too hard to dig, while in the summer, the weather will be hot and not conducive to prolonged physical labor. The task will likely take longer if the tree is more mature and therefore more firmly rooted in the ground, and your physical conditioning will dictate for how long you can work in a given day.
Transplant a Tree – Step #1 – Determine the Best Location For Your Tree
Different trees have different needs – some may need more sunlight or water than others. Don’t put too dissimilar trees near each other, because only one may thrive. Likewise, consider how much space your tree will need as it grows. Planting a tree too close to your house may result in you having to prune more frequently than you would like to in a few years.
Transplant a Tree – Step #2 – Determine What Size Hole to Dig
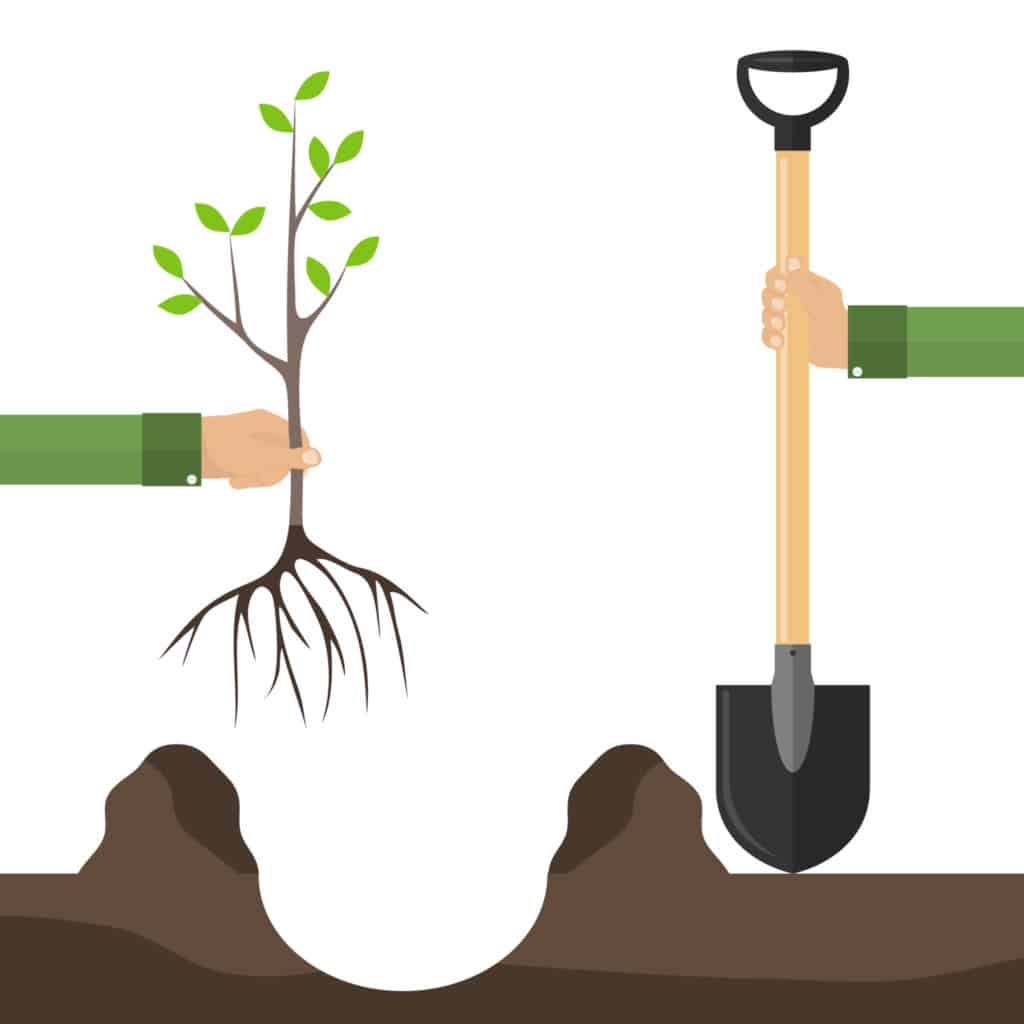
It’s time to start using the shovel and measuring tape. Try to approximate the size of the soon-to-be-transplanted tree’s root ball by performing some cursory digging around the tree. A rule of thumb is that the diameter of the newly dug hole should be twice that of the root ball diameter. Somewhat counterintuitively, the depth of the new hole should be slightly less than the height of the tree’s root ball (the hole will be slightly shallower than the tree’s current location). This will prevent water from collecting under the root ball and causing rot.
Transplant a Tree – Step #3 – Dig A New Hole
Use the measurements made in #2 to dig the new hole for the tree you wish to transplant. Don’t break the soil up at the bottom of the hole. While intuition would say that this would allow the transplanted tree’s roots to penetrate the soil more deeply, it can actually allow sinkage and rotting.

Transplant a Tree – #4 – Dig Up The Tree
It’s finally time to begin the process of actually transplanting the tree. Don’t dig right at the base of the tree, but rather start a few feet out. This will prevent root damage and will allow more of the root ball to remain intact. Begin to estimate the weight of the tree you’re transplanting if you need one or more people to help you move it. Try to keep as much of the root ball intact as possible. The difficulty of this increases with the tree’s size. If you have to cut through roots, make sure that the cuts are clean. Consider using pruners for this task.
Transplant a Tree – Step #5 – Transport The Tree
After loosening the tree from the soil underneath, gently lift the tree out of the ground and move the tree onto a nearby tarp. Drag the tree to its new hole on the tarp. Using a tarp to drag the tree being transplanted will prevent soil from falling out of the root ball and will also allow for other individuals to help (as opposed to carrying a tree upright).
Transplant a Tree – Step #6 – Plant the Tree
Slide the tree into the hole slowly. Make sure that the transplanted tree is standing upright and begin to shovel the soil that was dug up earlier back into the hole. Pat this soil down thoroughly and water it so as to eliminate potential tree-shifting air pockets. Congratulations – you’re done with most of the hard physical work.

Transplant a Tree – Step #7 – Make Final Touches
There will be extra soil, as the root ball of the tree will occupy a lot of the space in the new hole. Use this soil to make a kind of basin around the newly transplanted tree. This will ensure that the transplanted tree’s roots will remain well watered. After doing this, a layer of mulch several inches thick should be spread a few inches away from the base of the trunk. This promotes air circulation and prevents rodents from being attracted to the tree. Finally, make sure that the transplanted tree gets plenty of water, especially during its first year or two.
While transplanting a tree is not as easy as it might seem, it is by no means difficult or impossible. With attention, care, and help, almost anyone should be able to transplant a tree. Do you have any further suggestions for transplanting a tree? Feel free to share your recommendations in the form of a comment. Thank you for reading!


